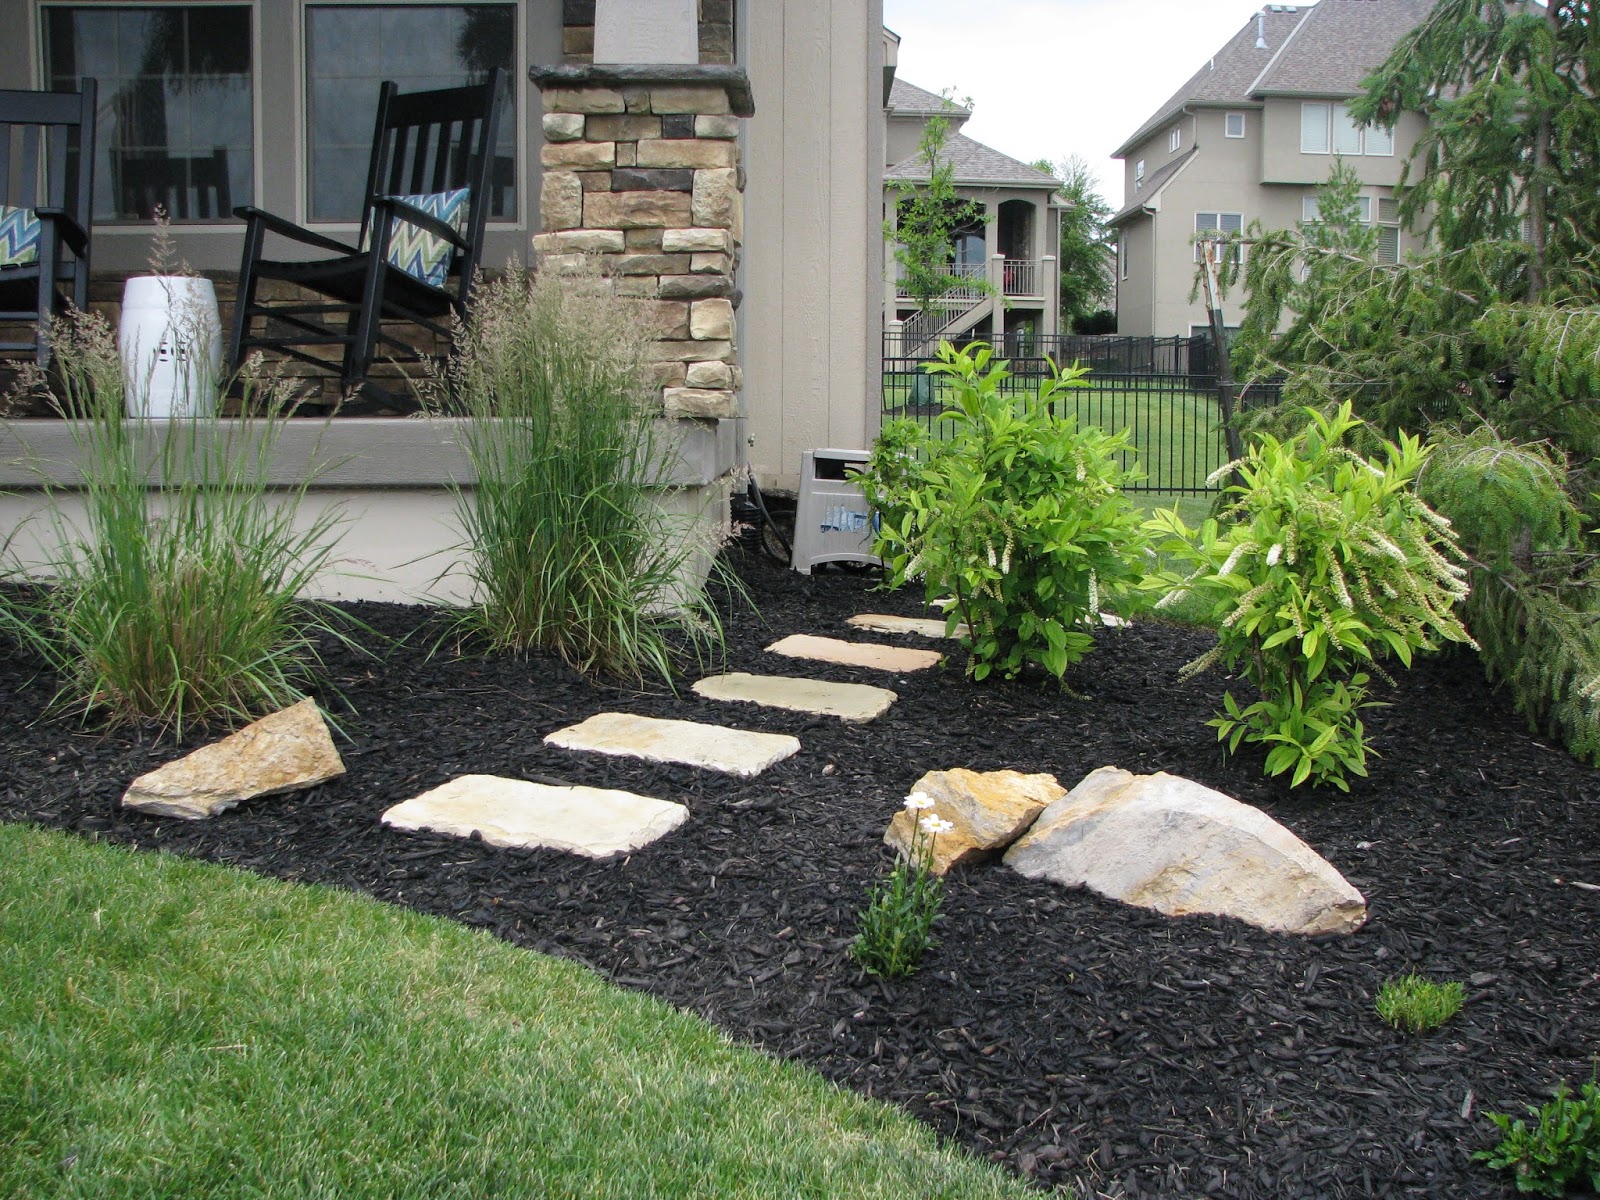
Preparing to Mulch
Benefits to mulching with homegrown mulch, woodchips, or other mulch include weed control and landscaping. To get the most out of your mulch and efforts, preparing to mulch by doing the following will maximize the results of your landscaping.
1. Killing the weeds
Importantly, eliminate the weeds and unwanted plants in the area you will be putting down mulch. This is the first step in preparing to mulch. Old fashion pulling them out works simply and efficiently, although you may use some herbicide one to two weeks before mulching which will allow the weeds to die completely. Then, the removal is easier.
2. Trimming bushes and trees
To prevent debris from falling on your new mulch after you put it down, trimming nearby trees and bushes when you are preparing to mulch will help.
3. Cleaning out your garden beds
Removing dead leaves, trimmings, and weeds with an adjustable rake will make sure that your mulch is placed on clean ground for maximum benefits.
4. Cultivate your landscaping beds
After cleaning, rototill or hand cultivate the ground to allow the dirt to be moistened and aerated.
5. Edging landscape beds
Using a power edger or an edging shovel, create a clean edge to give your landscape a professional look. You can use a garden hose as a guide for edges with curves. Preparing to mulch by doing this before putting down the mulch is easier and will really make your landscape more attractive.
6. Raking the area smooth
Smooth all the surfaces before putting down the mulch. This will prevent your gardens from looking lumpy after the mulch is placed.
Meza Trucking – Dirt, gravel, rock, mulch, and more in Lodi, Stockton and surrounding areas.

